Explore all New Cars of 2024
 Car News Highlights That Made Headlines This Week

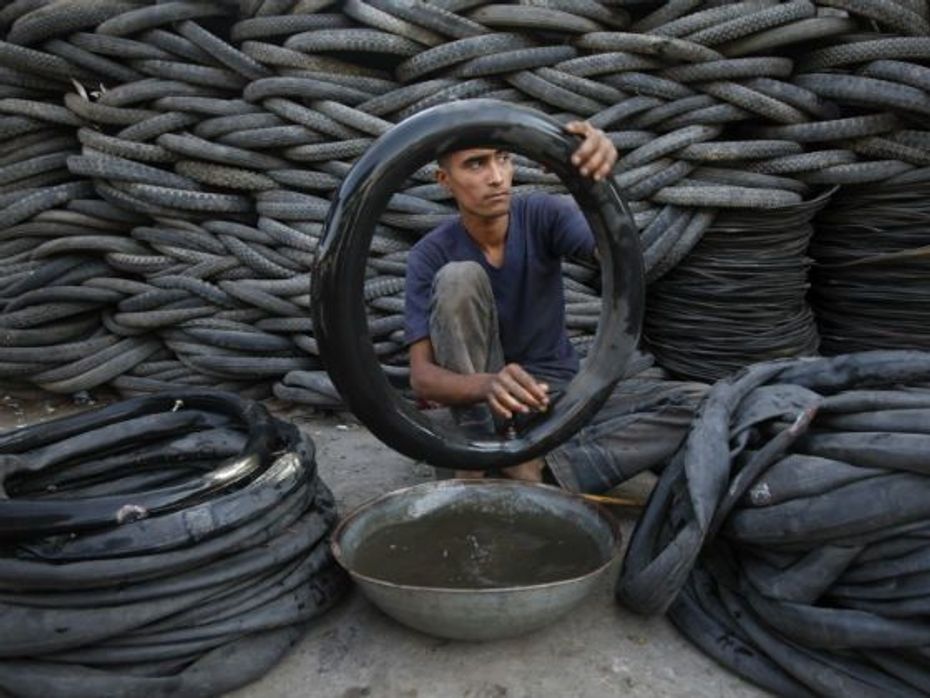
Photo courtesy: Reuters
Tube tyres
Fixing a puncture can be a tedious and time-consuming task for someone not used to handling such repairs. While finding a puncture repair shop is the most obvious choice, learning to fix a flat can come in handy on a bad day.
Tools: A wheel nut spanner, tyre iron, pliers, chalk, file, rubber patch, Fevikwik or any other adhesive, a few bricks, foot pump and spare tube.
Step 1:
First check if the rubber has been pierced. If you fail to find a cut or puncture on the tyre, check the tube, as a worn out tube itself may have led to a cut or tear and developed a puncture.
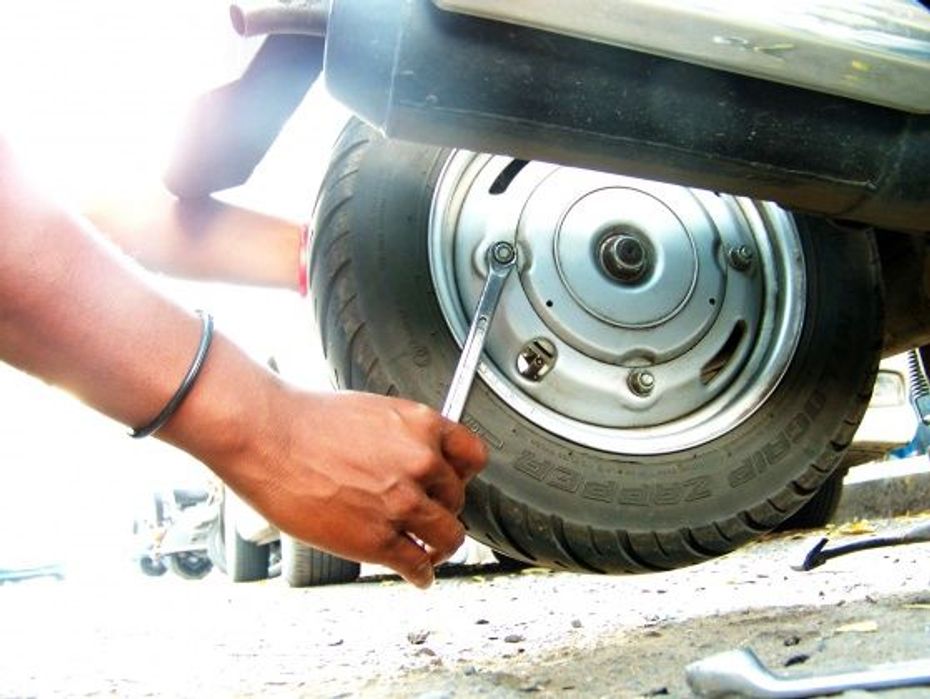
Step 2:
Remove the wheel. Use a spanner to unscrew the wheel nut, hit the threaded side of the bolt to remove the bolt and with it the wheel. Place bricks in place of the removed to keep the motorcycle level. This step only applies to motorcycles. In case of scooters, there are multiple nuts that have to be unscrewed and it won’t need bricks to balance the vehicle as well.
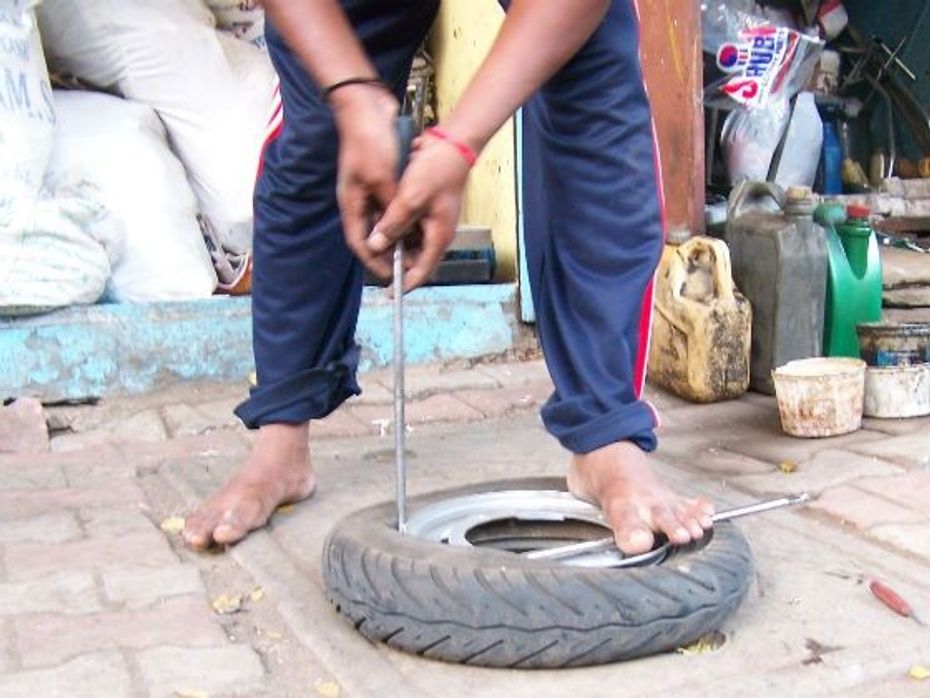
Step 3:
To remove the tube, remove one side of the tyre from the rim. Use the tyre iron to remove it the tyre from the rim. Slot in the tool at the intersection of the rim and the rubber and gently push the lever and allow the tyre to gradually slide out across the circumference of the rim.
Step 4:
Unbolt the valve and remove the tube from the tyre. Inflate the tube and immerse it in water. Air bubbles will rise from the puncture area. (Always keep a spare tube handy for occasions when you don’t have the necessary things like a tub of water.)
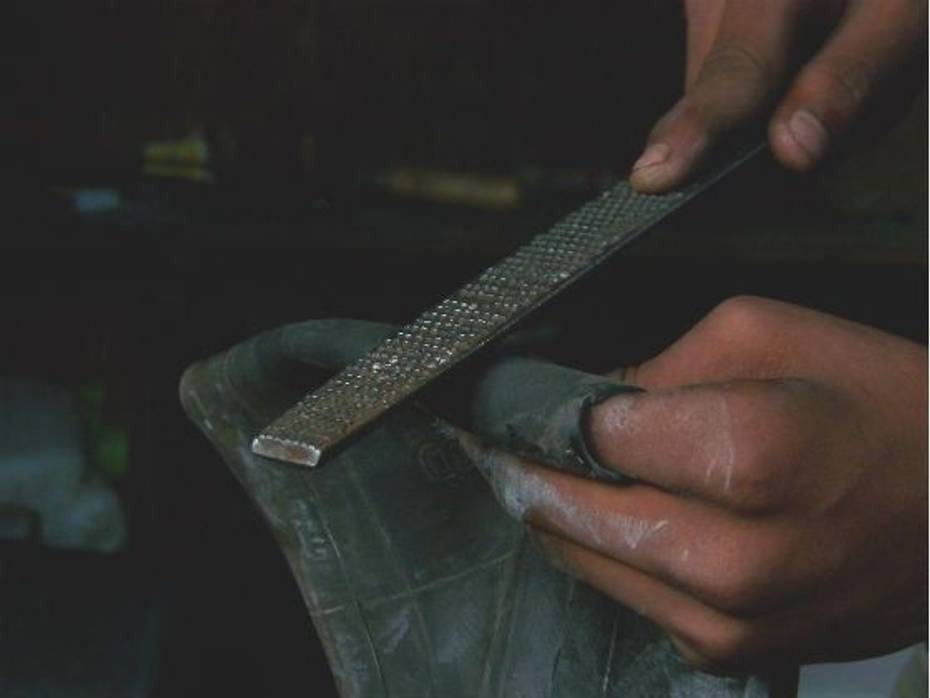
Step 5:
Rub the punctured area with the file to ensure that the adhesive allows the rubber patch to stick properly and the patch doesn’t bulge out of the tube. Use adhesive to stick the rubber patch over the punctured area.
Step 6:
Check if the puncture is sealed by submerging in water. Put the tube back into the tyre. Push the air valve through the hole of the rim and gently push the tube into the tyre. Use the tyre iron to put the tyre back into the rim and put the wheel back. Tighten the wheel nut.

Tubeless tyres
Most manufacturers provide tubeless tyres on their motorcycles today as they are easy to mend. Though they can be ridden for a considerable distance when punctured, it is necessary to fix the puncture to prevent further damage. Fixing a puncture on a tubeless tyre is easy as the tyre need not be removed. Here’s how you do it:
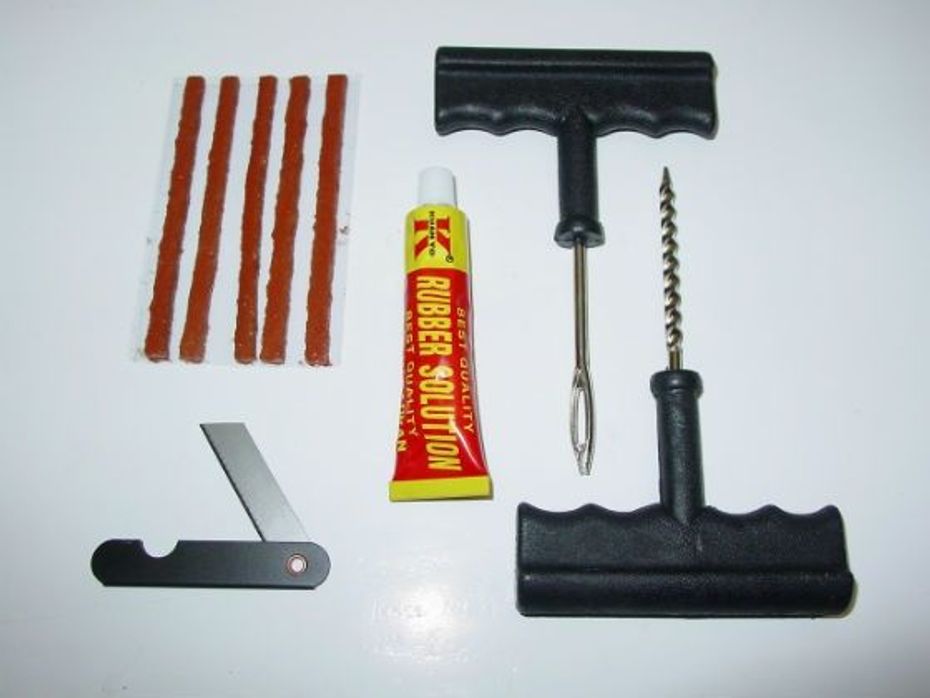
Tools you need: To fix a puncture on a tubeless tyre you need a special kit that includes pliers, a smoothening tool, puncture repair strips, puncture strip insertion tool and a knife/blade.
Step 1:
First identify the location of the puncture. Check the tyre for a nail, screw or sharp stone that has pierced the rubber.
Step 2:
Remove the object that has ruptured the tyre with the pliers.
Step 3:
Insert the smoothening tool into the puncture hole to ensure that it is large enough to insert the puncture repair strip into. Leave the tool inside the punctured area.
Step 4:
Insert the puncture repair strip halfway into the puncture strip insertion tool like threading a needle.
Step 5:
Use the puncture repair insertion tool to push the puncture strip inside. Use the smoothening tool as well. Gradually pull out the smoothening tool as you insert the puncture strip till about a millimetre of it is above the tyre.
Step 6:
If the strip is protruding too much, trim it with a knife. The puncture is fixed.
India's largest automotive community